





















Working with Exterior Wood: Species Selection, Joinery Rules, and Perimeter Framing
Indoor cabinetry is forgiving; you dial in the humidity in your workshop, cut your tenons, apply a finish, and the piece stays stable in a climate-controlled living room for decades. However, when you take that exact same craftsmanship outside, the rules change completely. Direct UV exposure, seasonal ground moisture, driving rain, and baking summer heat will exploit every bad joint, wrong fastener, and poorly chosen timber species within twelve months.
Whether you are building outdoor furniture, a custom pergola, or high-end perimeter fencing, mastering outdoor woodwork requires designing for water management and mechanical stress from day one.
1. Choosing the Right Species for Outdoor Exposure
You cannot cheat material science. Slapping three coats of polyurethane on untreated pine will not turn it into marine-grade lumber.
- Western red cedar: The gold standard for a reason. Cedar contains natural tannins and extractives that resist rot and insect boring. It is lightweight, dimensionally stable, and holds exterior stains exceptionally well. The downside is its softness, denting easily under heavy physical impact.
- Redwood: Excellent stability and natural resistance, particularly old-growth or high-grade heartwood. However, sapwood rots almost as fast as white wood, so selecting heartwood clear grades is mandatory for structural longevity.
- Pressure-treated southern yellow pine (SYP): Dense, incredibly strong, and cost-effective for structural framing and underground post footings. The catch is internal moisture. SYP will warp, cup, and twist aggressively as it dries on site if it is not fastened properly right out of the lumberyard stack.
- Hardwoods and composites: Ipe and Cumaru offer multi-decade lifespans but will destroy your saw blades and require pre-drilling every single fastener. High-end composite profiles offer an alternative for clients who refuse to re-seal wood every spring.
2. Joinery and Water Management Tactics
Water is the enemy of exterior timber. The goal of outdoor joinery is not just strength; it is shedding moisture instantly.
Protect the End Grain
End grain acts like a bundle of open straws, pulling moisture deep into the board ten times faster than face grain. Always bevel the tops of your vertical fence pickets and posts so water runs off instead of pooling. Sealing every end cut with an exterior wax emulsion or copper-based wood preservative before assembly is non-negotiable.
Fasteners: Never Skimp on Coating
Never use standard drywall screws or zinc-plated interior hardware on exterior timber. The tannins in cedar and redwood react with standard steel, causing black chemical streaking and rapid corrosion. Use only Grade 304 or 316 stainless steel screws, or structural fasteners with certified polymer coatings rated for ACQ-treated lumber.
Spacing and Natural Airflow
Wood swells across the tangential grain when wet. If you butt outdoor boards flush together during a dry July build, they will buckle against each other during the first rainy week of autumn. Maintain consistent 1/8-inch to 1/4-inch expansion gaps using spacers, and keep all timber a minimum of 2 inches above bare dirt or concrete pads to stop ground moisture wicking.
3. Structural Scale: When Custom Craftsmanship Meets Site Engineering
Small shop projects like outdoor benches allow for complete benchtop control. Large-scale structural exterior builds (like architectural boundary walls, privacy screens, and heavy vehicle gates) bring heavy lateral forces and soil mechanics into the equation.
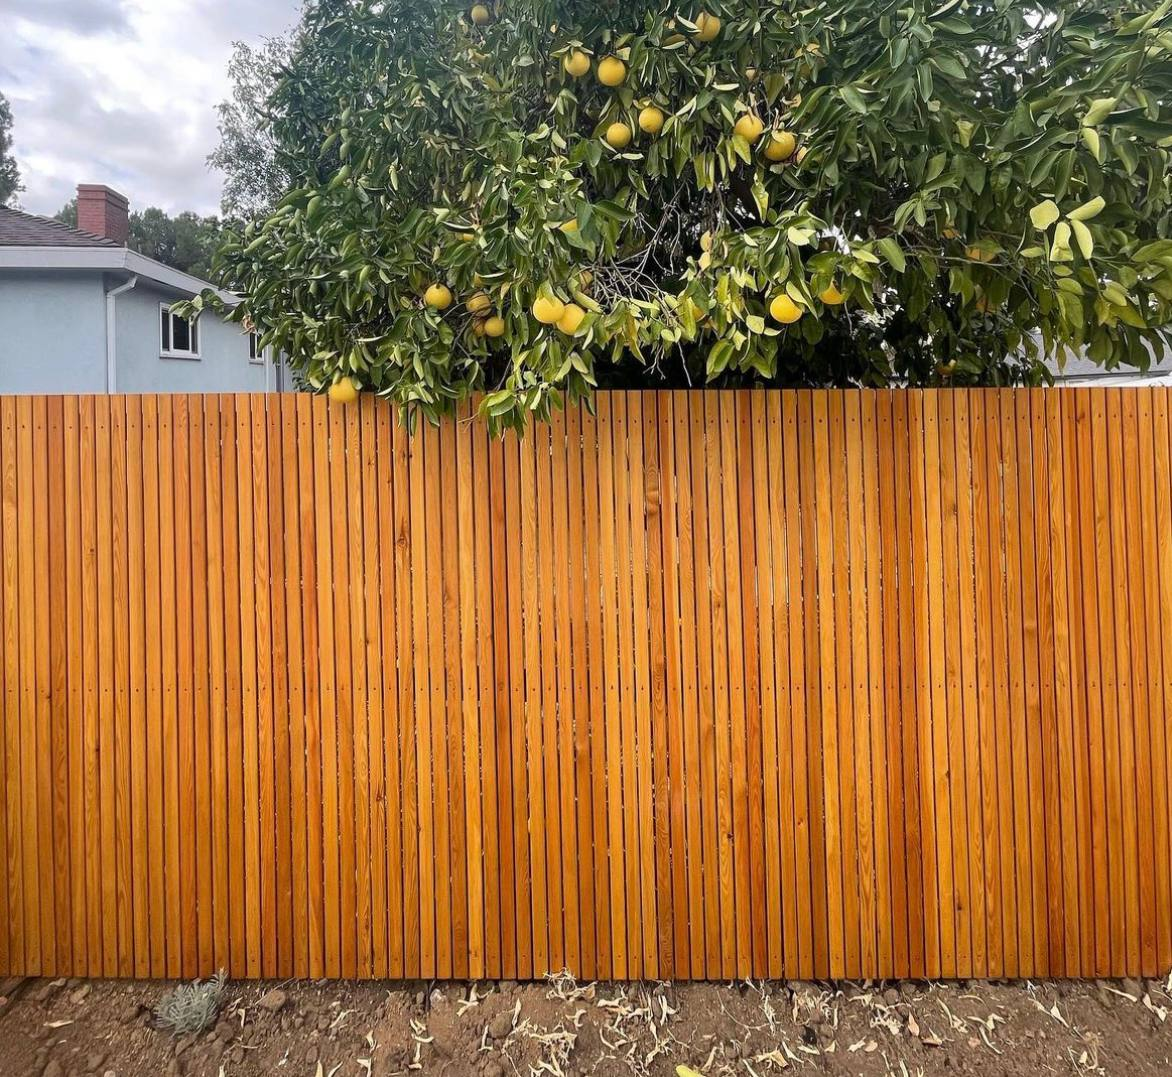
A custom horizontal cedar fence looks incredible in architectural sketches, but if the post depth fails to account for high wind loads or if the framing spans are spaced too wide, the boards will sag and pull fasteners out of the posts.
For complex residential builds on uneven grade or multi-acre lots, collaborating with specialized exterior builders (such as teams handling custom Fence Installation in California – HandyMaestro) bridges the gap between fine carpentry detailing and code-compliant structural framing. Getting the post footings, seismic bracing, and gate hinge hardware engineered properly ensures custom wood and composite installations hold their alignment year after year without sagging or dragging against the driveway.
4. Quick Field Checklist for Exterior Timber Builds
- Check moisture content (MC): Do not install wet, unseasoned pressure-treated lumber for visible finish pickets. Let it air-dry down to below 15% MC to avoid severe shrinkage gaps after installation.
- Pre-drill near board ends: Cedar and dry hardwoods split instantly when driven near the edge. Always pre-drill with countersink bits.
- Use penetrating oil finishes: Avoid film-forming clear coats (like standard exterior varnishes) on large outdoor timber spans. They will eventually peel, forcing you to strip the whole project. Penetrating semi-transparent oil stains wear away naturally and make maintenance coats quick and painless.
Endnote
Great exterior carpentry is about discipline. Respect the timber species, plan for water runoff, use the right fasteners, and build foundations that can handle seasonal shifts. When you do this, your outdoor projects will look as sharp 10 years from now as they did the day they left your workbench.