



















Every home renovation creates a pile of debris, and the mess adds up faster than most people expect. Torn-out drywall, old flooring, busted cabinets, and worn shingles can bury a garage or spill across a yard in a single afternoon. A roll-off dumpster keeps the job site clean, protects your family from sharp scraps and stray nails, and saves you from hauling load after load to the landfill in the back of a pickup.
The trick is planning the rental before the sledgehammers come out. Order the wrong size or skip a required permit, and you can lose days and rack up surprise fees. Whether you are gutting a bathroom or tearing down a deck, lining up a reliable dumpster rental in Florida or in your own state early gives you one less thing to worry about on demolition day. Here is how to plan it out, step by step, so nothing trips you up along the way.
1. Get the Size Right
Dumpster sizes come in cubic yards, so pick one that fits how big your job really is:
- 10-yard: Handy for a small bathroom redo, flooring in one room, or ripping out a little deck.
- 20-yard: Good for a mid-size kitchen job, carpet across the whole house, or a bigger deck tear-out.
- 30-yard: Handles major home additions, big window replacement jobs, or multi-room cleanouts.
- 40-yard: Built for full house demolitions, large commercial work, or complete roof replacements.
When you are stuck between two sizes, size up. Paying a bit more for extra room beats renting a second container when the first one fills too soon.
2. Know What You Can and Cannot Toss
Rental companies enforce strict rules about what goes in the bin, so sorting your debris ahead of time prevents rejected loads and cleanup delays. Most haulers happily take wood, drywall, flooring, old furniture, cabinets, general construction scrap, and roofing shingles. What they will not accept is paint, chemicals, asbestos, tires, batteries, and large electronics.
Anything ignitable, corrosive, or toxic needs special handling, so before your project starts, read up on how to deal with hazardous waste so leftover solvents and old paint cans do not end up in the wrong place. Ask your hauler for their exact restricted list too, since it can vary by location.
3. Check Whether You Need a Permit
Where you park the dumpster decides the paperwork. If it sits on your driveway or private property, you usually do not need a permit at all.
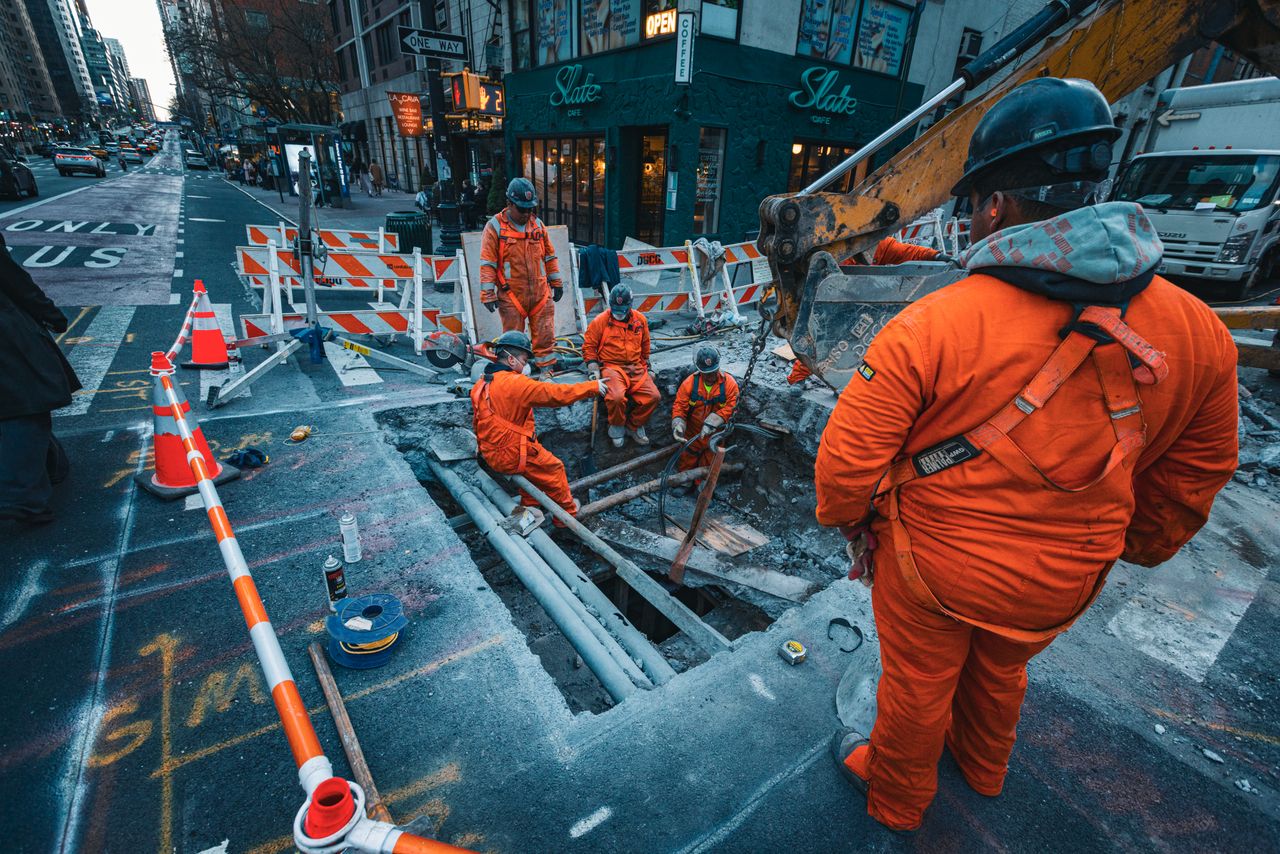
The moment it lands on a public street, alley, or sidewalk, you almost always need a temporary right-of-way permit from your city or town hall, so apply at least a week before delivery to give the approval time to clear. Homeowners in a managed community should also check their HOA rules, since some neighborhoods limit where a dumpster can sit and how long it can stay.
4. Understand the Pricing
Ask for a full cost breakdown before you book so nothing catches you off guard. Most companies quote a flat rate tied to a weight limit, usually around 2 to 4 tons, and once your debris tips past that, they bill you extra per ton on top.
The standard rental period runs 7 to 14 days, with daily charges tacked on when you keep the container longer. Being honest about your debris weight helps the company quote the right limit, so mention heavy materials like concrete, tile, and shingles when you call, since they add up fast.
5. Get the Drop Spot Ready
Before the truck rolls up, make sure the driver has a flat, wide-open path onto your property. Move any parked cars out of the way, trim low tree branches, and watch for overhead power lines.
Laying plywood sheets under the wheels shields your concrete or asphalt from heavy metal contact. A clean, open landing zone means a faster delivery, a safer setup, and no scratched pavement to fix later.
Conclusion
The best time to reserve a dumpster is a few days before work begins, so it is waiting on site when the first wall comes down. Confirm the size, drop-off date, pickup date, and total price in writing. With the container squared away, you can focus on the fun part of your renovation and let the debris take care of itself.