


- Expert tips from a metal specialist, metals4U on building a pergola
- How to avoid the elements and which materials to use for longevity
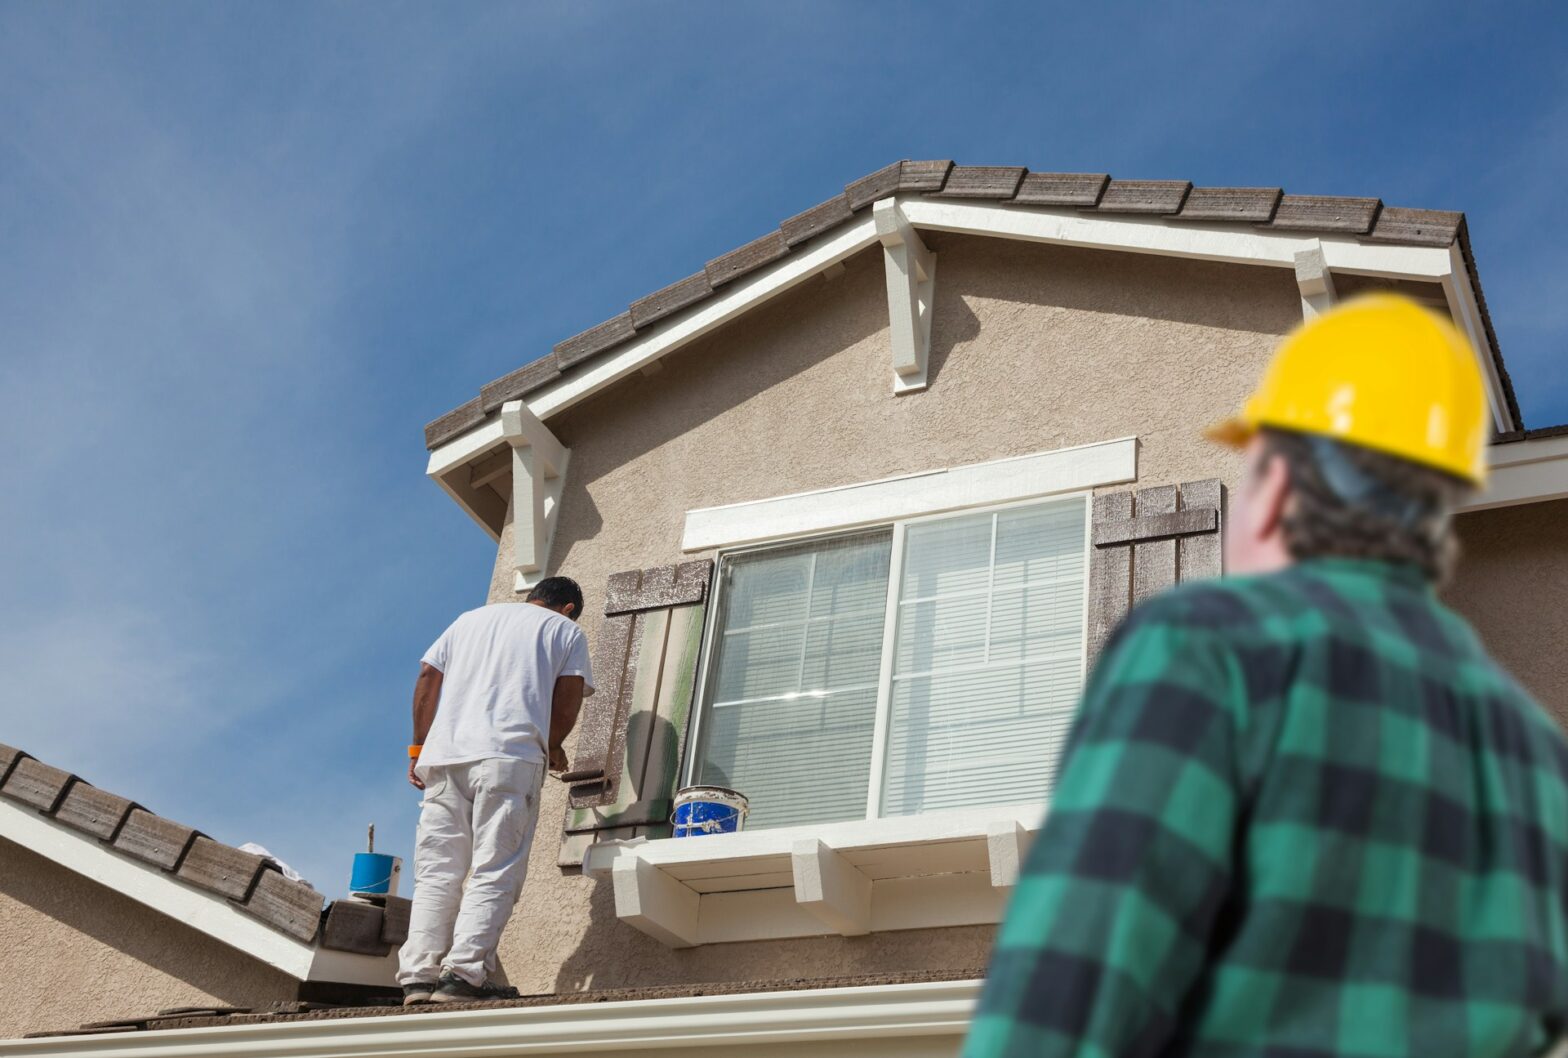
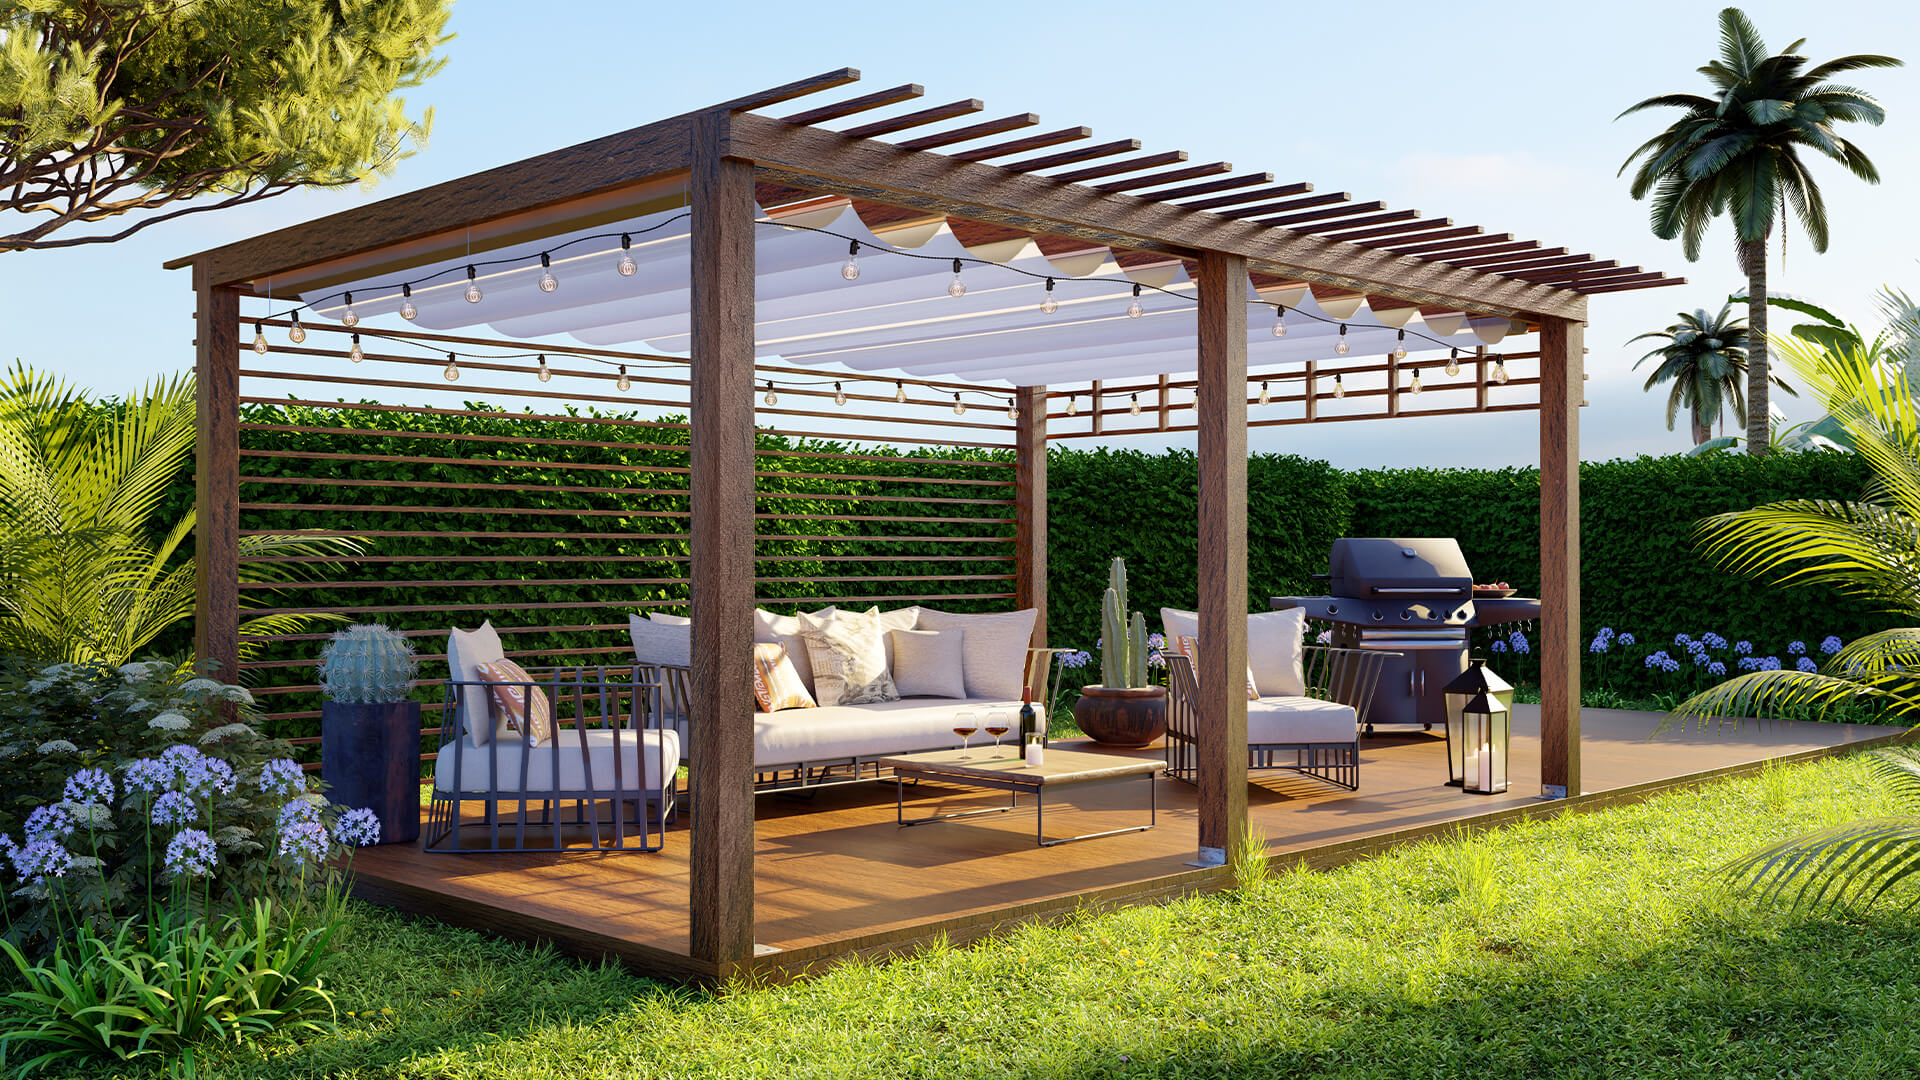
With milder weather setting in, it feels like a perfect time to tackle our outdoor spaces and get them ready for the summer months. Lots of us are looking to extend our living spaces outside and get garden ready for summer hosting. A pergola makes a stunning garden feature whilst also having practical uses, giving shade and a covered area for seating which should enable you to use your outdoor space all year round.
Whether you’d prefer a fully covered space or to create a visually interesting structure, there are lots of options. People often position pergolas against a fence or exterior wall of a building to create a less exposed space
Below, Paul McFadyen, Managing Director and metals specialist at metals4U, offers tips on building a pergola for your outdoor space and which materials to use.
Paul comments: “A pergola is fairly easy to create, whatever your style preference. You’ll need to start with a firm structure – using steel or wooden beams to hold the weight of your covering. These materials work well as they’re weather and nature-proof. As a material, steel is very resistant to corrosion and staining, so it’ll look great for years to come.”
For the roof, you can play around with different materials – wood is a really popular choice, or if you want something a bit more secure, you can use roof sheeting and tiles. If you’re not bothered about it being water-tight, aluminium gazebos look great and can be purchased pre-assembled.”
Paul adds: “Alternatively, if you’d like a metallic style finish to your pergola, copper and brass are both suitable materials for outdoor use as they don’t rust. Instead, they naturally oxidise on the surface to form a protective coating, also known as patina, which transforms the surface colour slowly over time. These surfaces can also be treated with clear metal lacquer to maintain their original colour if preferred.”
How to build a flat-roofed pergola
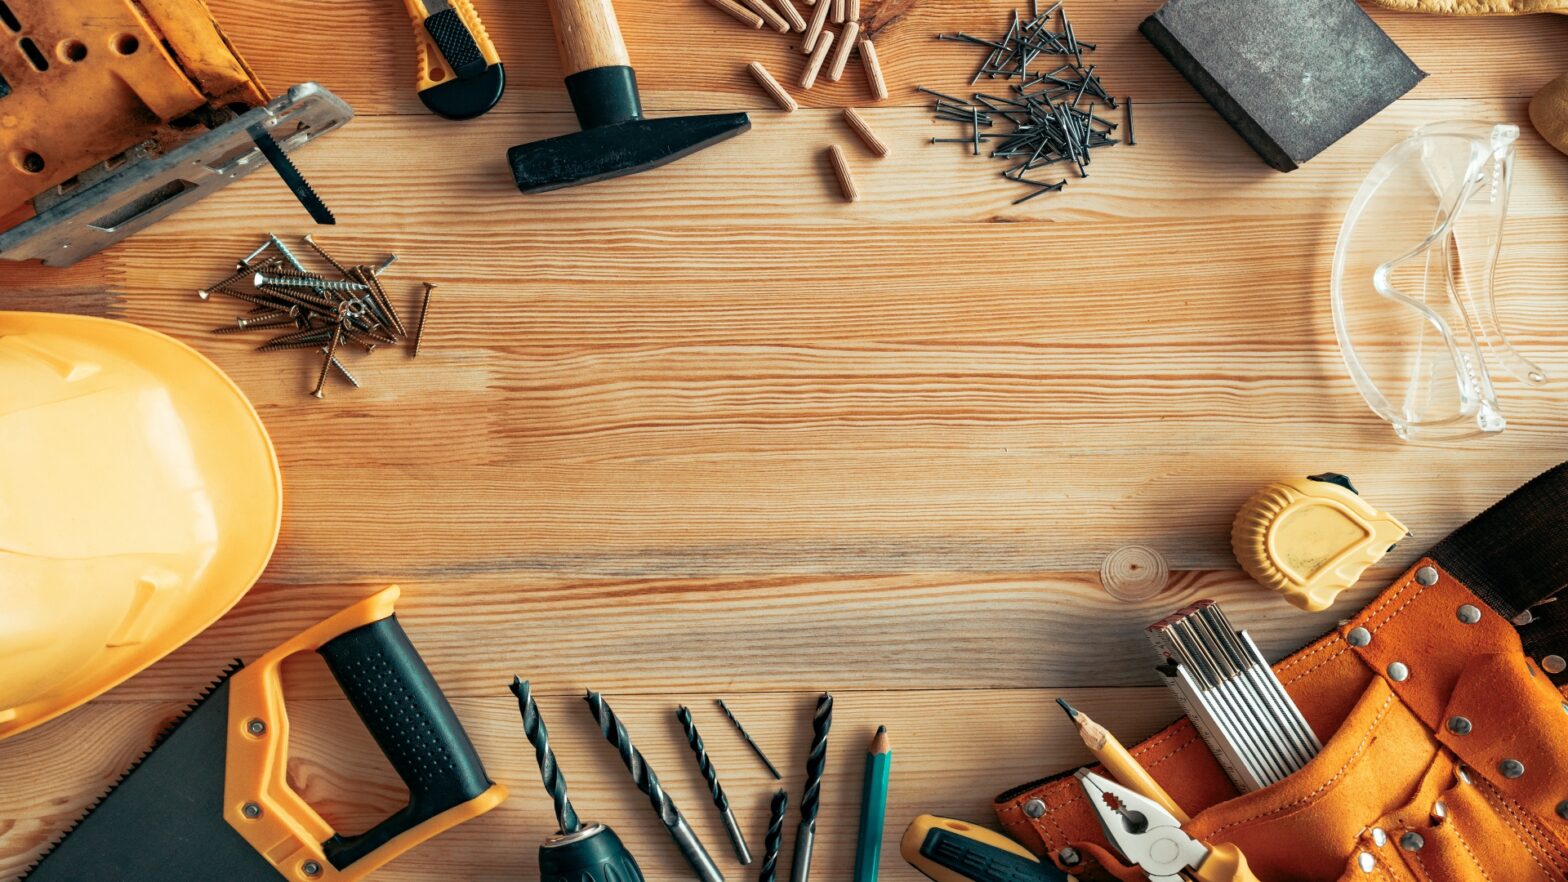
You will need:
- 4 x Post supports
- 16 x Masonry bolts
- 5 x roof supports
- 4 x posts (depending on how big you’d like the pergola to be, you may need more of these to support the roof)
- Wooden or metal roof slats – cut to desired width of pergola
Tools
- Electric drill
- Circular saw
- Spirit level
- Measuring tape
- Pencil/grass paint (for markings)
Step 1
Firstly, lay all of your roof supports, posts and roof slats out on the ground and ensure that all pieces are cut to the correct size – with each of equal length and width. This is key to ensure that the pergola is level.
Step 2
Taking the 4 roof supports, ensure that there are slots for the roof slats to fit into. Measure the width, length and depth of the roof slats and mark these into the side of the roof support. Then, cut out these holes using the circular saw – creating a housing for the roof slats to slot into comfortably.
Step 3
Using your measuring tape, measure the roof supports from end-to-end to determine the length and width of your pergola. Mark out the distance between each post in the desired position on your terrace, patio or grass. The outside edge of the roof slat should line up with the outer edge of your post supports.
Step 4
Depending on your ground material (e.g. grass, concrete) you may need to dig into the ground to ensure a strong support for the posts. Position the four post supports to sit at each corner of the pergola structure. Using masonry bolts and the electric drill, secure the supports into the ground firmly. This will provide the base for your structure.
Step 5
Fit the posts into the post supports. Then drill pilot holes and secure them into place with galvanised nails. Double-check that the posts are vertical and in line with each other and that they are level with the spirit level.
Step 6
Using a ladder (and with some help!) lift the roof supports into place on top of the posts. Your pergola posts should fit tightly into the housing in the roof supports, so you’ll need to tap them in with a wooden mallet. To avoid bruising the material, hold an off-cut of timber between the mallet and rafter.
Step 7
Once all of the roof supports and posts are in place, you can begin to insert the roof slats into their housing and secure these into place with nails, using your electric drill.
Step 8
When your structure is in place, use a spirit level to make sure the roof is level and all roof supports are at the same height. You may have to adjust the depth of the holes when doing this. Finally, concrete the posts in and leave them to set for 48 hours.
Styling tip: Popular ways to style your pergola include draping fairy lights around the roof and creating a cosy area underneath with a sofa and blankets for late summer nights.