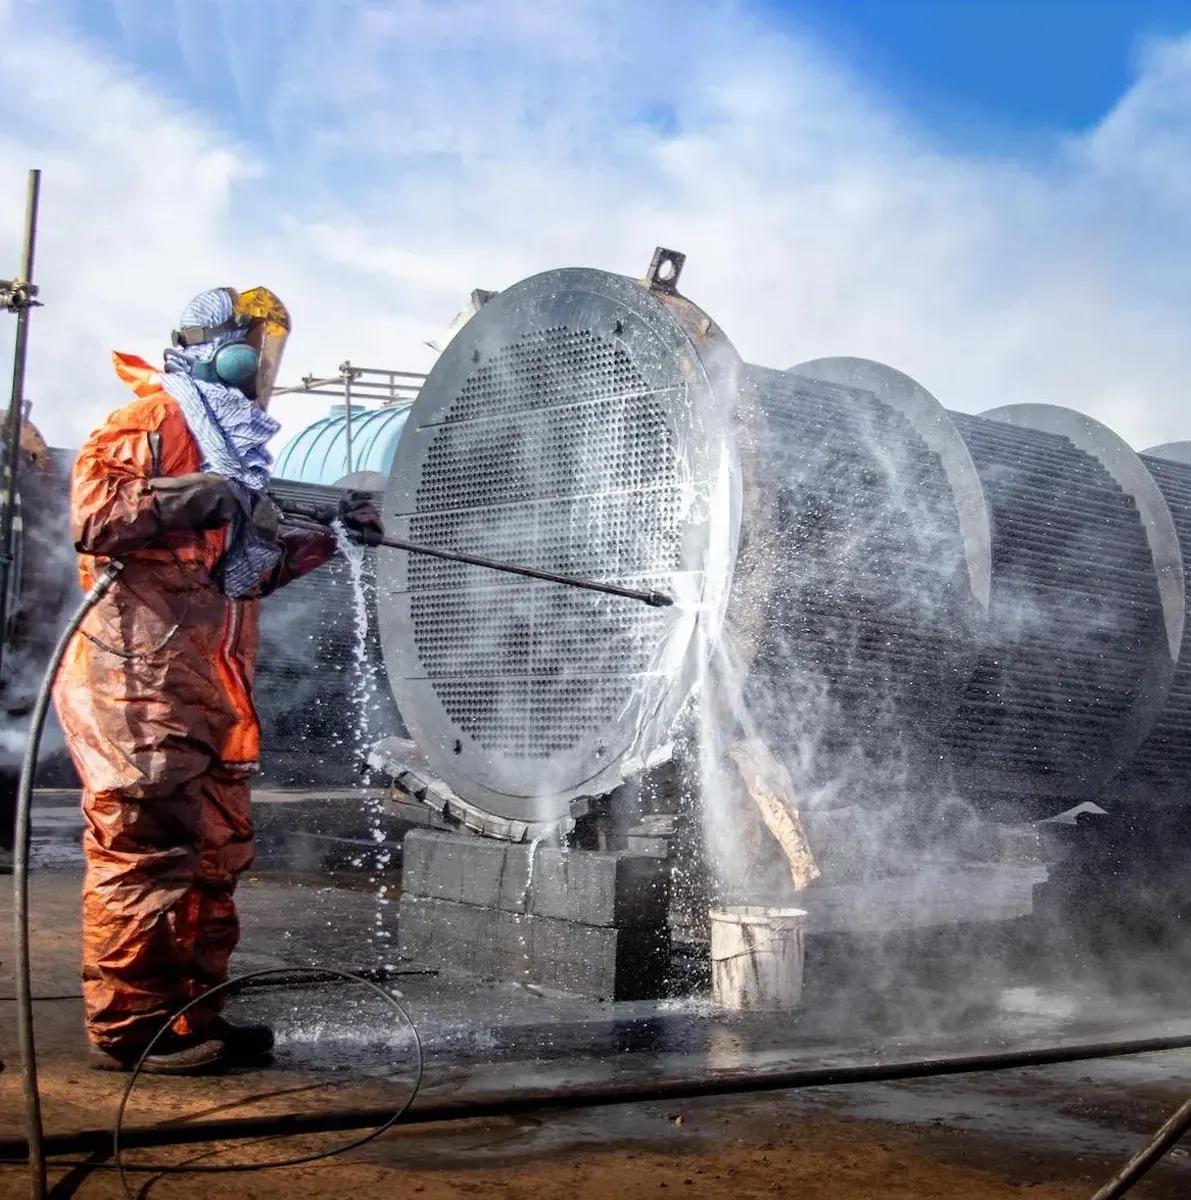


A concrete ceiling is usually found in modern new-build homes. Installing recessed spotlights is a bit more difficult than with a traditional ceiling with plasterboard.
What are the points for attention when mounting recessed spotlights in a concrete ceiling?
First of all, an opening is made with a clock drill for concrete in which the recessed spot fits. There are clock drills of all sizes, ranging from 25 to often 70 or 80 mm. The opening may be slightly larger than the cut-out size (or drill hole) indicated on the packaging of the recessed spot. After all, there must be 0.5 to 1 cm of space between the side of the spot and the concrete (the springs can easily bridge such a distance). Although LED spots do get less hot than halogen spots, but they must be able to cool sufficiently, otherwise the lifespan will be drastically reduced. Make sure that there is no insulation against the recessed spotlights. If there are no holes in the ceiling yet, it is best to make an opening for recessed spotlights of 70 or 80 mm. These are the standard sizes of recessed spotlights. If the vaults are thick enough, it is best to make a height of 10 cm. That way you can also work with GU10 recessed spotlights. If you don’t have sufficient height, it is best to work with recessed spotlights with integrated LED modules. These often have a small installation height (you can find the specific recessed spotlights with a low installation height here) and the lifespan is very good because they are often well cooled.
Recessed spotlights on 220V
An important fact with concrete ceilings is that it is best to work with recessed spotlights that are directly connected to 220V, so-called driverless recessed spotlights. After all, you do not have to install a driver in the ceiling, which would be problematic with a concrete ceiling. If you still have to work with a driver or transformer, it is best not to use 1 driver per spot, but 1 driver for all spots. That way you can store the driver in a different place.
Recessed spotlights with leaf springs
In the past, recessed spotlights with leaf springs were mainly used for a concrete ceiling: [*image2*]. Because clamping springs have become firmer, clamping springs can also be built into a concrete ceiling. Nowadays one hardly finds any recessed spotlights with leaf springs, except mainly for mini recessed spotlights. You may have to remove the plastic on the end of the clamping spring so that the spot does not slide.
What is the difference with a plasterboard ceiling?
Most ceilings are made in plasterboard. With these false ceilings there is often a lot of space above. This makes it easy to conceal recessed spotlights and the installation height was often high enough. With concrete ceilings, the installation height is limited. The cooling of LED spots was also sufficient because there is sufficient space around.
The recessed spotlights that are incorporated in this often have clamping springs. These springs were pushed up during installation and then fell down so that the spot is clamped on the top of the plasterboard.
Recessed spots that are equipped with a transformer or an LED driver can easily be built in because there is sufficient space to place them.
What about holes that are too big?
It happens that you want to replace existing spots (often halogen) with a new recessed spot. You are then bound to the installation opening. You can then look for a recessed spot with a saw size that is equal to or slightly smaller than the existing opening. Another possibility is to work with a reduction ring. The ring covers the entire opening and extends 1 to 2 cm over it. An opening is then made in the inside of the reduction ring to place the recessed spot.