


Hanging a door is not that difficult, so long as you know how to go about it. In fact, it could make the ideal DIY project to get you into the wider world of home maintenance.
Let’s look at the main steps to follow to ensure installing a new door or repairing an existing one is not a task you need to outsource.
Measure up
You need to get the right measurements to choose the correct size door for the frame in question. If a door is already in place and you are going to swap it out for a new one, this is straightforward.
If you have an empty frame to work with, gauging the width and height as accurately as possible at three or more points is necessary, since you need to check if the frame has consistent dimensions, or if there are any irregularities to note.
Should you discover that the frame is indeed not quite plumb, you can always use plastic horseshoe shims to sort this out later on. Learning how to shim a door is a different matter, but one worth looking into if your frame is irregular, which is more common on older properties.
Buy and resize the door
With the measurements to hand, you can choose a door that will fit the frame from whichever supplier you prefer, and in whatever design is most appealing. It is better to round up rather than down with your measurements, as trimming a door down to fit a frame is a possibility, whereas making it larger is not.
Trimming is as simple as harnessing a hand-held wood plane to gradually remove material from the left and right sides sequentially, moving towards the desired width which you have marked in pencil prior to starting. Clear off any roughness with sandpaper to complete the look.
Installing the hinges
The first step to adding the hinges is to measure the necessary positions for each on the door. Place it in the frame, propping it up slightly with a wedge at the base, and mark where the hinges should be mounted in situ.
Then to fit the hinges, you will need to combine a chisel with a mallet to make cuts into the wood of the door. Keep the chisel at a 45-degree angle and remove enough material to accommodate the hinge so it sits flush to the door’s surface.
Chiseling wood can be tricky if you have never done it before, so it is worth practicing on some spare wood before committing to doing it on the actual door. Following the grain, rather than going against it, is best practice, for example.
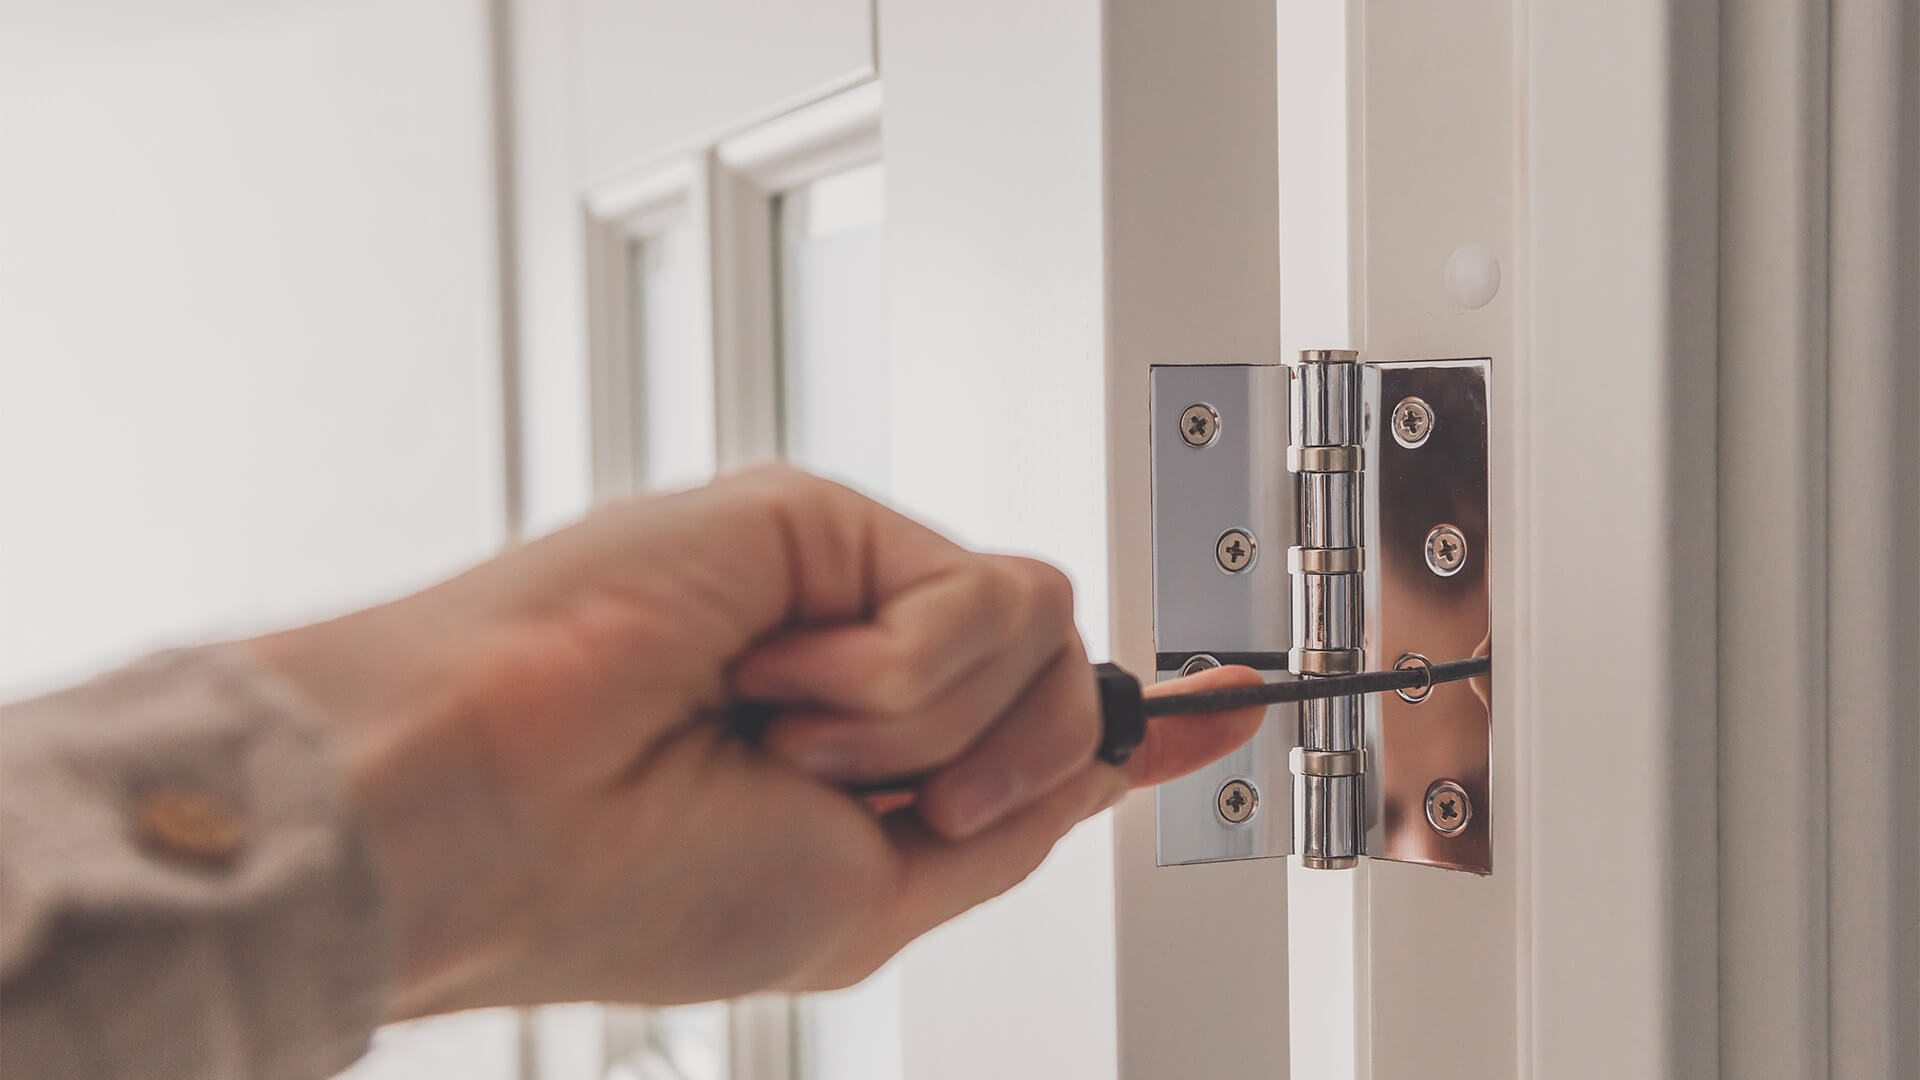
Next, position the hinges in the fresh indentations and mark where the screws will go. Remove the hinge, drill a small amount into the wood using a bit that is marginally narrower than the screws you plan to use, and you can then screw the hinges down onto the frame.
Hanging the door
The last step is to hang the door, which will involve stabilizing it with wedges underneath, and opening it at 90 degrees to the frame so you can screw the other half of the hinges into it.
Add just a couple of screws first, then ensure that the door’s travel is smooth and unimpeded before you add the rest.
Once complete, carry out final checks and be prepared to have to take the door down and re-plane any parts which are catching on the frame in an unintended way. It might be frustrating, but it is better to fix flaws now, rather than live with them indefinitely.