


Smart home technology has never been more accessible. Set up a voice assistant, smart bulbs, and a video doorbell in an afternoon with just a smartphone and WiFi. But there is a line where DIY stops making sense, and crossing it leads to wasted money, security gaps, and systems that frustrate rather than simplify.
The difference between a smart home that delights and one that annoys is almost never the hardware. It is how the hardware is installed, configured, and integrated.
Here is an honest breakdown of what you can confidently do yourself and when professional installation pays for itself many times over.
What You Can and Should DIY
Some smart home devices are designed from the ground up for consumer self-installation. They require no tools, no electrical knowledge, and no networking expertise. Paying a professional to install these is unnecessary spending.
Smart Speakers and Displays
Plug in, connect to WiFi, download the app. An Amazon Echo, Google Nest Hub, or Apple HomePod Mini takes 5 to 10 minutes. There is no reason to pay someone for this. The same applies to streaming devices like Apple TV, Roku, and Fire TV Stick.
Smart Bulbs
Screw in, add to app. Philips Hue, LIFX, Nanoleaf, and Wyze designed their bulbs for zero-tool installation. Even the Hue Bridge is just an Ethernet cable to the router and a 30-second pairing in the app. Smart bulbs provide immediate gratification: voice-controlled lighting, scheduling, color changes, and dimming from the phone.
The one caveat: a smart bulb loses power when someone flips the wall switch off. For households where family members habitually use wall switches, smart switches are a better investment, but they involve electrical work (covered below).
Smart Plugs
Plug into outlet, set up in app, plug the device in. Use these to make dumb devices smart: lamps, fans, heaters, coffee makers, and holiday lights. A $15 smart plug on a bedroom lamp provides scheduled lighting, voice control, and energy monitoring without buying a $50 smart bulb.
Video Doorbells (Battery Models)
Ring and Google Nest battery doorbells mount with two screws. No wiring, no electrical work. Installation takes 15 minutes. The battery lasts 3 to 6 months depending on motion frequency and temperature. For renters or homeowners who do not want to touch existing wiring, battery doorbells provide security camera functionality with minimal effort.
Sensors (Leak, Motion, Door and Window)
Peel the adhesive backing, stick the sensor in place, pair it with your hub. Water leak sensors go under sinks and near water heaters. Motion sensors mount in hallways. Door and window sensors attach to the frame. A $20 leak sensor that alerts you to a burst pipe at 3 AM prevents thousands in water damage.
Robot Vacuums
Unbox, charge, and map. Modern robot vacuums from iRobot, Roborock, and Ecovacs map your home during the first run and learn the layout over time. Schedule cleaning while you are at work, and integrate with voice assistants to trigger cleaning by command.
The Gray Zone: DIY-Possible but Tricky
 These devices can be self-installed by homeowners with moderate technical skills, but each involves specific knowledge or physical work that creates meaningful risk of failure or suboptimal results if done incorrectly.
Smart Switches and Dimmers
Replacing a light switch requires basic electrical knowledge: identifying line versus load wires, understanding neutral wire requirements, and working safely with the breaker off. If you are comfortable changing a regular switch, you can handle a smart switch. If you have never done it, the risk of miswiring is not worth saving $80 to $120 on installation labor.
The critical issue is the neutral wire. Many older homes built before the 1980s lack neutral wires in switch boxes. Without one, most smart switches will not function. Lutron Caseta works without a neutral using its Clear Connect RF protocol, and a few Inovelli and Zooz models support no-neutral configurations with reduced dimming range.
For homeowners planning 10 or more switches, the cost gap narrows when you factor in time. Ten switches take a DIYer 4 to 6 hours. A professional completes the same work in 2 to 3 hours with confidence in wire identification and code compliance.
Smart Locks
Retrofit smart locks like August and Level replace only the interior assembly, a 15-minute screwdriver job. Full replacements like Schlage Encode Plus and Yale Assure Lock 2 replace both interior and exterior hardware, requiring the existing deadbolt to be removed and the new assembly fitted.
The stumbling point is door compatibility. Doors thicker than 1.75 inches, non-standard bore spacing, and multi-point locking mechanisms may not work with standard smart locks. Check compatibility specs before purchasing.
Wired Video Doorbells
Replacing an existing wired doorbell is usually straightforward: disconnect the old unit, connect the new one’s wires, and mount. But if your transformer is too weak (common in pre-2010 homes providing 10 to 16 volts when modern doorbells need 16 to 24), you need to upgrade it. Finding and replacing the transformer requires basic electrical competence.
Mesh WiFi Systems
Placing mesh WiFi nodes is easy. Optimising placement takes trial and error. For homes under 3,000 square feet, a three-node system from Eero, Google Nest WiFi, or TP-Link Deco provides adequate coverage. Larger homes or those with plaster walls need more strategic planning. The risk of DIY mesh WiFi is mediocrity: certain rooms have weak signals and the homeowner never realises the network is causing smart home unreliability.
Where DIY Falls Apart: The Case for Professional Installation
 The projects below involve infrastructure, integration complexity, or specialised knowledge that makes DIY impractical for most homeowners. The cost of professional installation is not a luxury in these categories; it is the difference between a system that works and one that creates ongoing frustration.
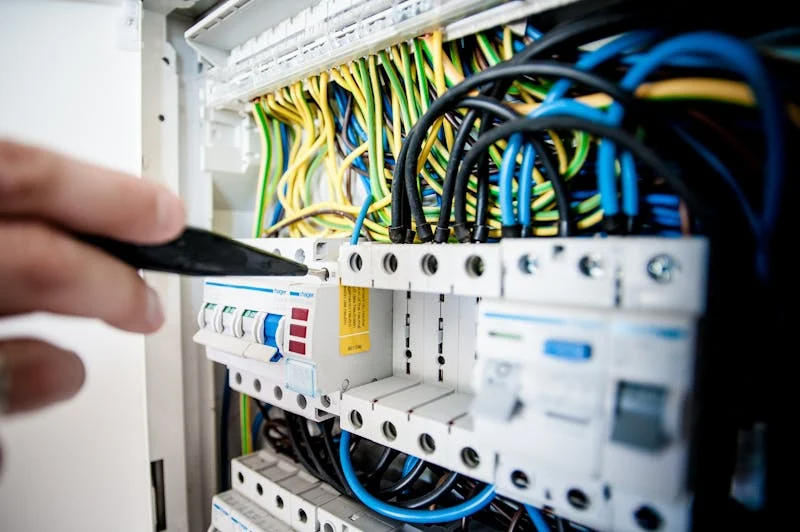
Whole-Home Networking Infrastructure
Running Ethernet through walls, setting up VLANs for IoT isolation, configuring enterprise access points, and managing 40 to 60 devices simultaneously requires specialised tools, network architecture knowledge, and days of work. A botched network is the number one reason smart homes feel unreliable. Professional home networking installation ensures solid, consistent connectivity from day one.
A mesh system handles phones, laptops, and a streaming TV fine. Add 6 cameras streaming continuously, 15 smart switches, 4 Thread border routers, 3 voice assistants, and a dozen sensors, and the consumer mesh starts dropping devices and buffering video. An enterprise network handles this load without impact on any device.
Multi-Room Audio and Video
A single Sonos speaker is DIY. A whole-home audio system with in-ceiling speakers, a distributed AV matrix, and control keypads in every room involves architectural planning for speaker placement and room acoustics, in-wall wiring for speaker cable and control connections, and system calibration that balances volume and equalisation across all zones. DIY multi-room audio typically results in visible wires, inconsistent volume between rooms, echo problems, and a control interface requiring multiple apps.
Integrated Lighting Control
One smart switch is DIY. Twenty switches coordinating into scenes, responding to occupancy sensors, and following time-of-day schedules is programming. The hardware installation is straightforward. The programming that transforms 20 independent switches into a coordinated system requires understanding of scene design, occupancy logic, and the automation platform’s interface.
The difference between “I can turn lights on with my phone” and “my home anticipates what I need” is entirely in the programming. Lights turn on as you walk in and off when you leave. Brightness adjusts to time of day. The movie scene dims specific lights while leaving pathway illumination safe. None of this happens by default. All of it requires deliberate programming.
Security Systems
SimpliSafe or Ring Alarm? DIY. A monitored system with hardwired sensors, cellular backup, camera integration, and professional monitoring? The wiring requires pulling cable to every sensor and camera position. The design requires understanding detection zones, coverage angles, and monitoring station integration.
Insurance discounts often require a professional installation certificate. A DIY Ring system may not qualify for the same 10 to 20 percent premium discount that a professionally installed system provides. Over five years, that discount difference can exceed the installation cost.
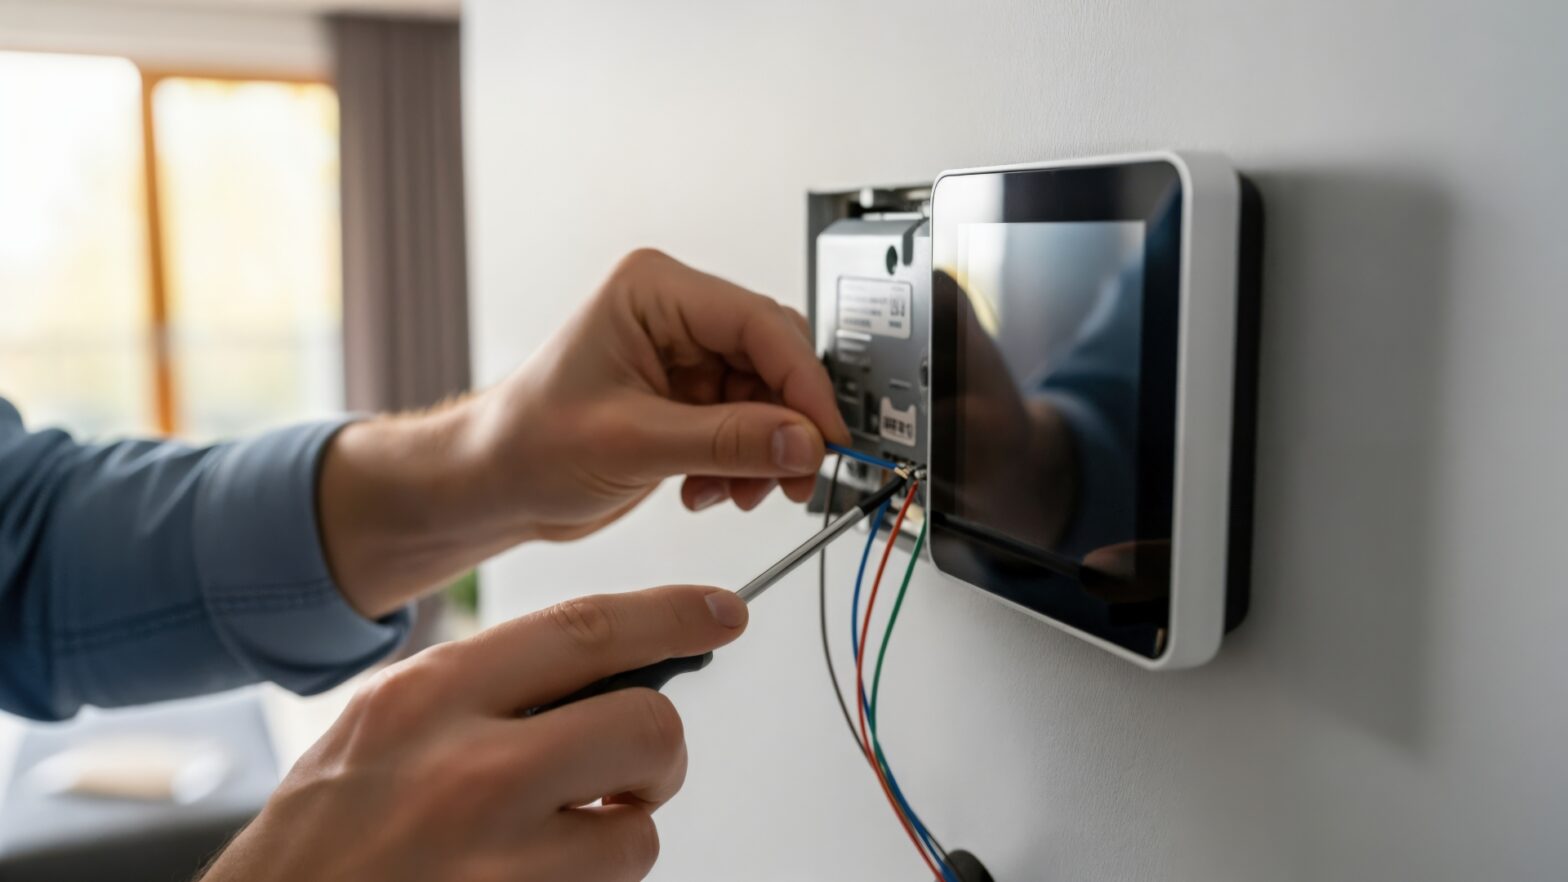
Climate Control and HVAC Integration
Replacing a thermostat is usually DIY. But integrating HVAC with motorised blinds, ceiling fans, zone dampers, and scheduling logic that preconditions the home based on arrival patterns requires professional climate control design accounting for thermal characteristics, window orientation, and HVAC capabilities.
A properly integrated climate system reduces energy consumption by 25 to 35 percent. The savings come from coordination: shades block solar gain before overheating, HVAC runs at lower capacity, and zone dampers direct air only where people are present. Only integration of multiple systems produces these results.
The Real Cost Comparison
Here is what both approaches actually cost for common smart home project scopes:
- 5 smart bulbs plus a speaker: DIY cost $250, professional cost $400, DIY risk is none. This is purely DIY territory.
- 10 smart switches: DIY cost $500, professional cost $900, DIY risk is low but real if you lack electrical experience.
- Whole-home WiFi with access points: DIY cost $300 to $500 (consumer mesh), professional cost $1,500 to $3,000 (enterprise grade with cable runs). The DIY option works until device count exceeds 20 to 30, then performance degrades.
- Security system with 6 to 8 cameras: DIY cost $1,200, professional cost $2,500 to $4,000. DIY risk is medium due to camera placement knowledge, cable routing, and network configuration affecting system reliability.
- Full smart home covering lighting, security, climate, and AV: DIY cost $5,000 or more in hardware plus 40 or more hours of personal time, professional cost $10,000 to $25,000 depending on scope. DIY risk is high because integration complexity increases geometrically with device count and category diversity.
The DIY column looks cheaper in every case, but it does not account for your time, the learning curve, compatibility issues discovered after purchasing, and the integration quality gap between trial-and-error and professional experience.
How to Decide: Three Questions
Ask yourself three questions before starting any smart home project:
- Is this a single device or a system? Single devices are almost always DIY. Systems benefit from professional design. The dividing line is interaction complexity. Five independent smart plugs is DIY. Five devices triggering automations based on each other’s state is a system.
- Does it involve infrastructure? Running cable through walls, installing circuits, or modifying wiring is infrastructure. Infrastructure done wrong is expensive to fix because it is hidden inside walls. If it involves infrastructure, a professional reduces risk significantly.
- Do I need things to work together? The more devices that need to coordinate, the more value a professional brings. Integration is the hard part. Individual devices are easy. Making them interact intelligently is where professional expertise pays for itself. Complexity increases geometrically, not linearly, with each device added.
The Smart Approach: Combine Both
 The best strategy is not purely DIY or purely professional. It is a deliberate combination of both. DIY the simple stuff: smart plugs, bulbs, speakers, sensors, and battery doorbells. Learn what you actually use through hands-on experience. This experimentation phase costs $300 to $500 and teaches you more about your preferences than any amount of online research.
Then bring in a professional for infrastructure, networking, and automation. The professional addresses cable routing, network architecture, and cross-device integration, while you maintain control over simple device additions.
This phased approach prevents over-investing before understanding what you want. Homeowners who jump to a $20,000 installation sometimes discover they never use half the features. Starting with DIY basics and then investing professionally in what matters produces a system matching actual needs rather than a theoretical checklist.
A free smart home cost calculator can help you understand the scope before committing. Most reputable installers offer free consultations to help you decide what to tackle yourself and what to leave to the experts.