


A hole in your roof isn’t something you can ignore.
Even a small gap can let water in, damage insulation, stain ceilings, and weaken the structure of your home. The good news?
With the right tools, materials, and a bit of know-how, you can handle minor roof damage yourself, or at least keep things under control until a professional steps in.
In this guide, we’ll walk you through how to fix a hole in a roof, from quick temporary solutions to more permanent repair steps.
Whether your roof was damaged by a storm, a fallen branch, or years of wear and tear, this step-by-step guide will help you get it sealed up properly.
Step 1: Stay Safe and Assess the Damage
Before you climb up, think safety first. Make sure the weather is dry and calm, and use a sturdy ladder placed on stable ground. Wear rubber-soled shoes for good traction, and never work alone if you can avoid it.
Once you’re up there, look closely at the area around the hole. Is it a small puncture caused by a nail or debris, or a larger section where the wood decking is exposed? This will help you decide whether you need a temporary patch or a full repair.
If the hole is larger than a few inches or if the decking underneath feels soft, it’s usually best to plan a more thorough fix—or call a professional for help.
Step 2: Temporary Fixes to Stop Leaks
If water is already leaking into your home, your priority is to stop it temporarily until the roof can be properly repaired. Here are a few quick fixes homeowners can do safely:
1. Use a Tarp
A heavy-duty plastic tarp is one of the easiest ways to cover a damaged area. Make sure it extends several feet beyond the hole in all directions. Secure it tightly using nails or screws with washers, or use weights like boards or bricks to keep it in place. The goal is to keep water from getting underneath.
2. Apply Roofing Cement or Caulk
For smaller cracks or gaps, roofing cement or exterior-grade caulk can provide a short-term seal. Use a putty knife to press it into the damaged spot and spread it evenly. This works well around flashing, vents, or nail holes.
3. Try Roofing Tape or Patch Kits
Many hardware stores sell peel-and-stick roofing repair tape. It’s waterproof and easy to use. Just clean the surface, press the tape down firmly, and smooth out any bubbles. This won’t last forever, but it can hold up for a few weeks until a permanent fix is made.
Inside the attic, you can also use roofing tape or buckets to catch drips and minimize damage to insulation and drywall.
Step 3: Permanent Roof Hole Repair
Once you’ve stopped the immediate leak, it’s time to fix the roof properly. Here’s how to repair a hole in a roof step-by-step.
Tools and Materials You’ll Need
- Ladder
- Pry bar and hammer
- Utility knife
- Measuring tape
- Reciprocating saw (for cutting damaged decking)
- Replacement roof decking (plywood or OSB)
- Roofing nails and adhesive (like Liquid Nails)
- Roofing tar
- Roofing felt or tar paper.
- Replacement shingles
Step-by-Step Repair Process
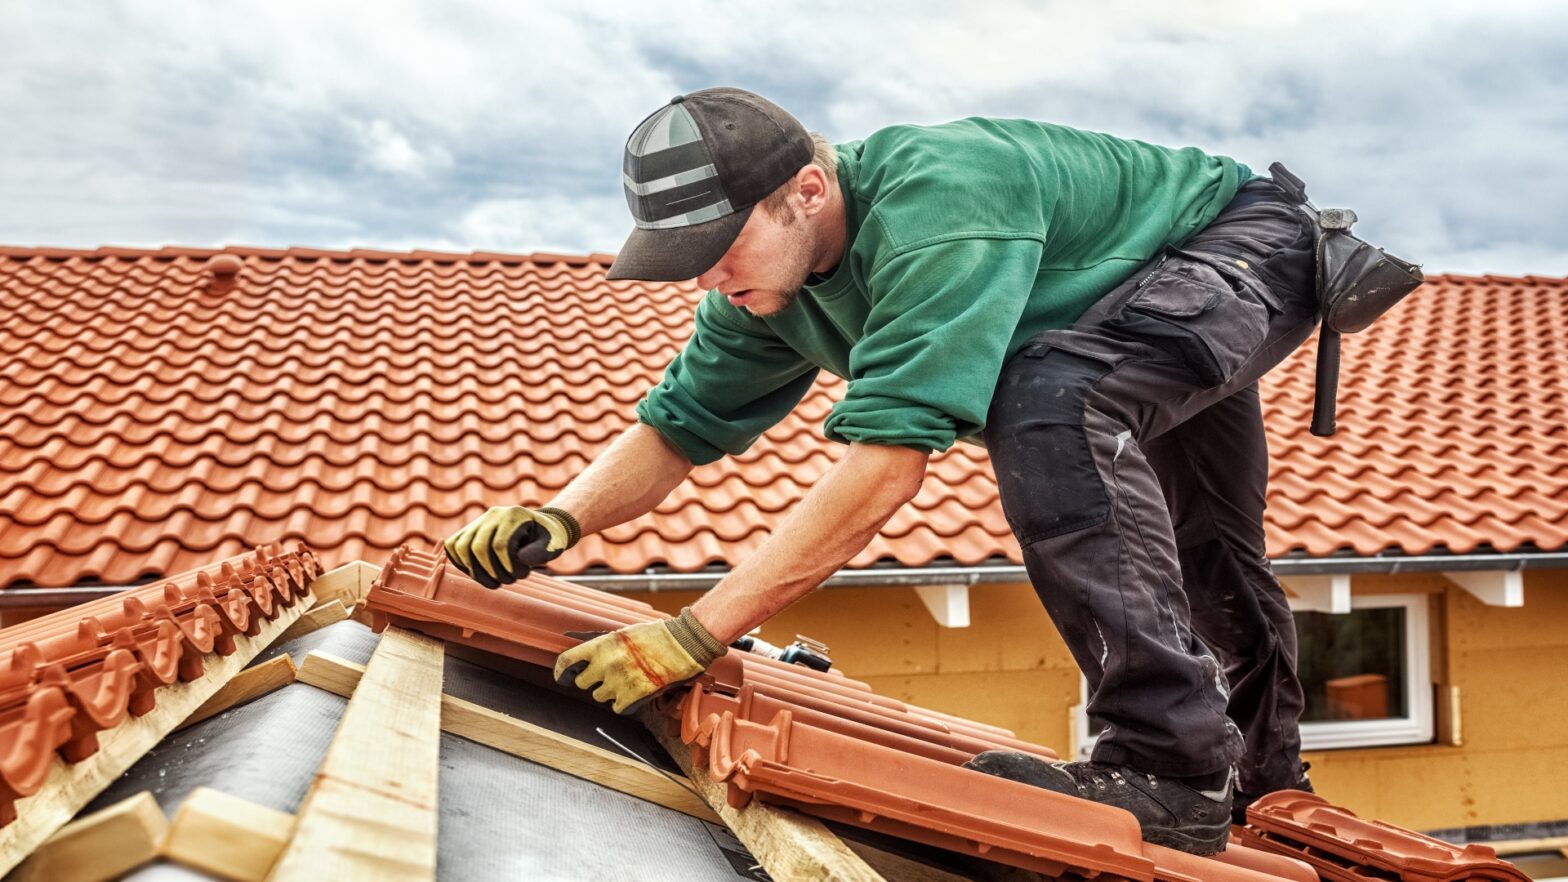
- Remove the damaged shingles.
- Gently lift the shingles above the hole using a pry bar. Take out any nails holding them in place and set them aside—you’ll need to replace them later.
- Cut out the damaged decking.
- Use your saw to cut around the hole, staying between the rafters if possible. Remove any rotted or soft wood. Be sure to wear safety glasses and gloves for this step.
- Install new wood decking.
- Cut a new piece of decking that fits snugly in the opening. If needed, add small braces (2x4s) along the rafters so the new piece has something to rest on. Secure the patch with construction adhesive and nails.
- Seal the seams
- Apply roofing tar or sealant around the edges of the new decking to create a watertight barrier. This helps prevent future leaks through the joints.
- Lay new tar paper or roofing felt.
- Roll out a piece that covers the repaired area and overlaps the existing underlayment by several inches. Nail it down and smooth it flat.
- Re-shingle the area
- Starting from the bottom, place new shingles over the patched section, matching the existing pattern as closely as possible. Nail them down carefully and apply a dab of roofing tar over each nail head to seal it.
Step 4: Inspect Your Work
Once you’re done, check the area both from above and below (inside your attic) to make sure there are no visible gaps or damp spots. After the next rainfall, inspect again to confirm that your patch is holding up and no water is sneaking in.
Step 5: Know When to Call a Professional
DIY roof repairs can save time and money, but they’re not always the best option for every situation. If you notice:
- Extensive rot or mold in the decking,
- Large or multiple damaged areas, or
- Leaks that persist after a patch,
…it’s a good idea to call in an expert. Professionals have the right equipment and experience to ensure the job is done safely and permanently.
If you’re in the Midwest and searching for roof repair in Indianapolis, a licensed local roofer can assess the damage, replace damaged materials, and make sure your roof is sealed tight for years to come.
Final Tips for Roof Maintenance
Once your roof is repaired, a little ongoing care can help prevent future holes or leaks. Here are a few simple habits to keep your roof in top shape:
- Clean gutters regularly to prevent water from backing up under shingles.
- Trim overhanging tree branches to reduce the risk of falling limbs.
- Check your attic for signs of leaks or damp insulation after heavy rain.
- Inspect shingles once or twice a year for cracks, curling, or missing pieces.
Conclusion
Fixing a hole in your roof might sound intimidating, but with the right approach, it’s a task most homeowners can handle for small repairs.
Start with a temporary patch to stop the leak, then move on to a permanent fix once the weather allows.
By following these steps, you’ll not only learn how to patch a roof safely and effectively but also extend the life of your entire roofing system.
And remember, when in doubt, calling a professional is always the best way to protect your home and your peace of mind.