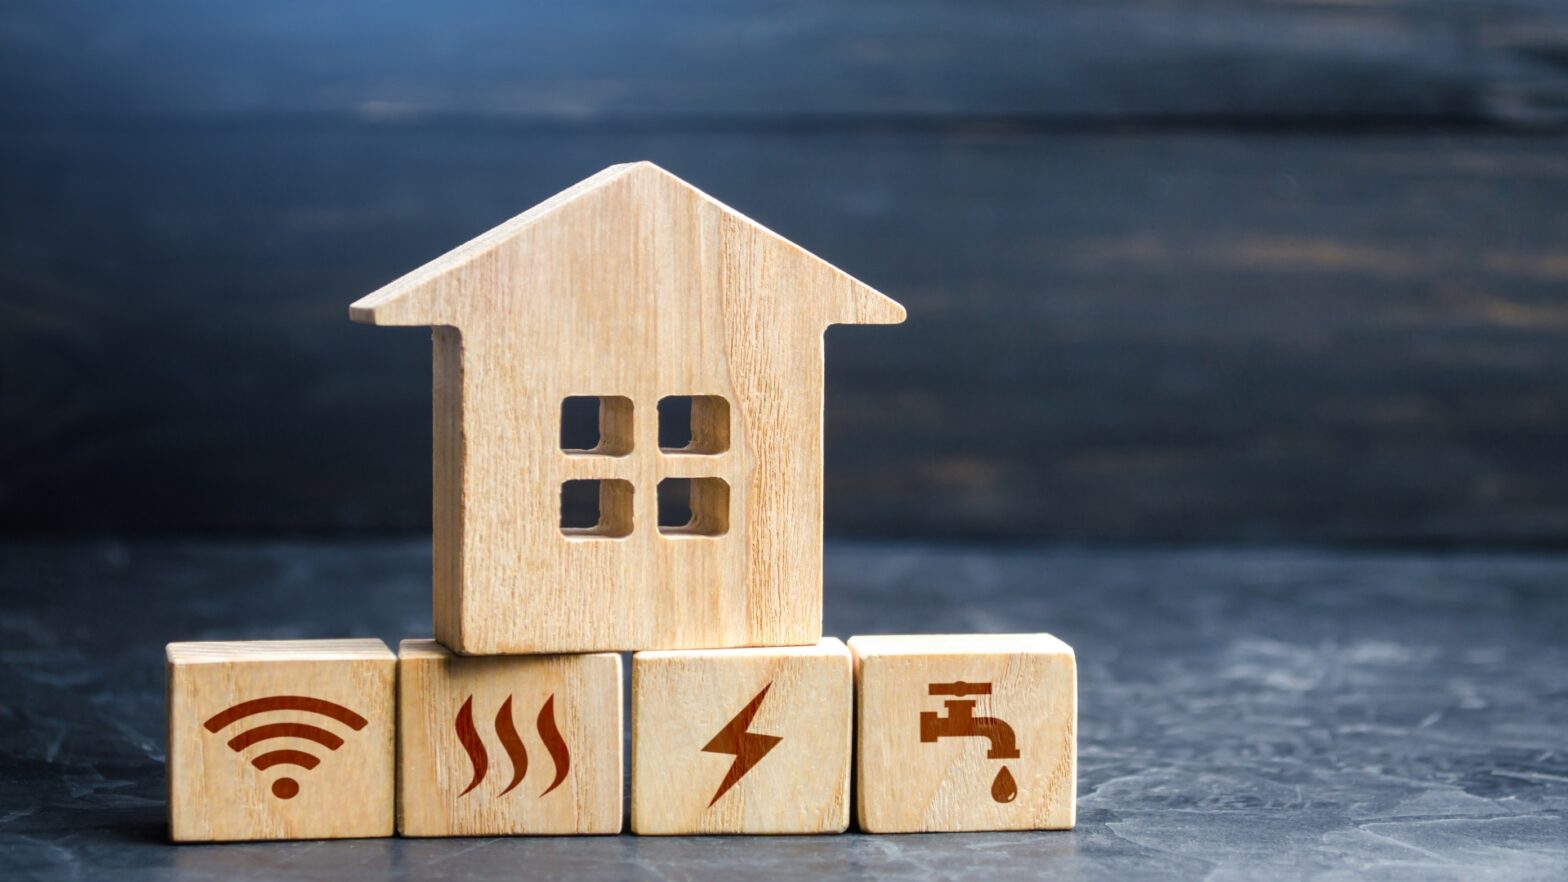
Plastering is certainly a skill that takes some time to perfect. However, this doesn’t mean that it is not something that you can do yourself. Although most people prefer to leave this type of work to professionals, you can save yourself some money by learning how to plaster a wall yourself.
With a bit of patience, time, learning, and careful work, you can get a professional plastering finish as a DIY job. To help you navigate the ups and downs of plastering a wall yourself, property and construction expert Thomas Goodman at MyJobQuote.co.uk has created this guide that can help you learn how to plaster a wall properly yourself. So, read on below and learn how to become a plastering master today.
What Tools Do You Need to Plaster a Wall?
Here’s what you’ll need for the job:
- Trowel
- Corner trowel
- Plasterer’s float
- Two buckets
- Hawk board
- Mixing stick
- PVA
- Plaster
- Sandpaper
- Clean water
- Step ladder
- Dust sheets
- Screen tape
- Dust mask
How to Plaster a Wall For a Smooth, Professional Finish
Step 1 – Preparing
Before you start working on the wall, you must begin by laying down a dust sheet which will protect your floors by gathering all of the debris, dust, and plaster spills. You should ensure the wall you want to plaster is free from dust and debris. This is a very important step, particularly if you are plastering an old or very worn wall. Make sure all holes and cracks are filled or covered before moving on.
Step 2 – Apply The PVA
PVA can help seal all of the pores of the drywall. Dilute the PVA in the following mixture – one part PVA to four parts water. Begin by rolling the mixture onto a brush before applying it to the wall. You need to make sure that the entire wall surface is covered. After applying a layer of PVA mixture, you can then apply the first layer of plaster.
Step 3 – Mix The Plaster As Needed
Different mixing methods may need to be applied, depending on the type of plaster that is used. It’s important that you take a moment to read the manufacturer’s instructions. This will ensure that you mix the plaster correctly. Make sure you wear a dust mask when you open up the bag of plaster. Pour the mix into a bucket of cold water and mix it until it has a thick consistency without any lumps. Continue mixing the plaster into the water and not the other way around.
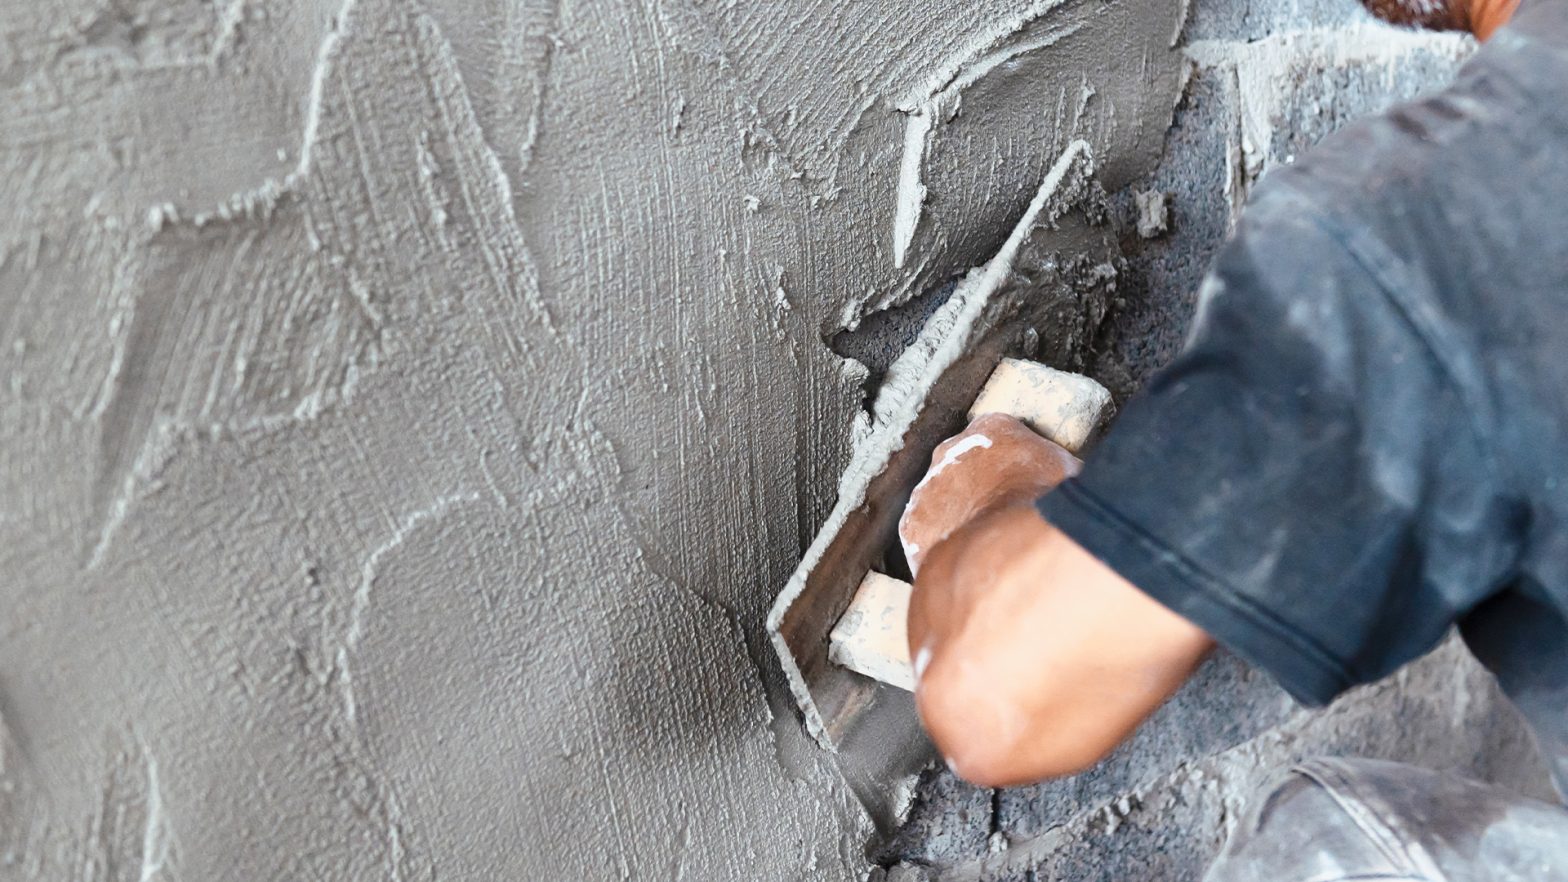
Step 4 – Apply the Plaster On The Walls
Once you have prepared the plaster mixture, you can then start applying the first coat using your hawk board, floating tool, and trowels. Consider practicing applying some of the plaster to a separate piece of plasterboard first so that you can properly master the technique. Place the plaster mixture onto a hawk board with the trowel. From there, use the float to push the material from the hawk onto the wall. Spread the plaster mix firmly upwards and then flatten the float down at the end of each sweep. Always apply the plaster from the bottom left-hand corners and move upwards. Make sure you fill a whole section from the bottom to the top before moving on to the next section. Use the plaster mixture in small amounts and combine it with firm pressure on the float. This will help you achieve a smooth appearance and avoid any excess plaster from coming away from the wall. Continue repeating this step until the entire wall is covered in the plaster mix.
Step 5 – Skim and Smooth
Once the first coat of plaster has been applied to the wall, you’ll then need to wait for at least 20 minutes to give the plaster time to dry. Once dried, get rid of all lumps and bumps by smoothing the wall with a trowel. Use the corner trowel to smooth out the corners, and also, don’t forget to smooth out the top and the bottom of the wall. These areas are the most difficult to plaster properly, so it’s important that you use the right tools so that you can properly even out all of the edges.
Step 6 – Scrape
In order to get that professional finish you desire, you should scrape the wall before applying the second coat of plaster. To do this, use a devilling float – a specific tool for scraping. If you don’t have this tool to hand, you can try scraping the wall with a kitchen fork. However, the results with a fork may not be as good. Scraping the wall will help ensure the second coat sticks properly.
Step 7 – Add The Second Coat
Next, apply the second coat of plaster to the wall with the same method as above. However, the plaster mixture for the second coat will need to have a thinner consistency, so you’ll have to dilute the plaster mixture by adding some additional water. Add a thin layer of plaster onto the wall and leave this to dry slightly.
Step 8 – Adding The Finishing Touches
Once the plaster has dried slightly, you can then move on to polishing the work. Add a bit of water to a spray bottle and spritz the wall lightly. Make sure all the edges of the plaster are smooth. Use the trowel to smoothen the surface with inward strokes. Finish off the wall by using a clean float over the entire surface. This will help ensure that all visible curves are flattened out and will also help remove any visible bumps. Once the plaster is completely dry, you can then go on to use sandpaper to remove any excess material and truly finish off the smooth appearance. After this step and once the plaster is fully dried, your walls will be ready to be painted or wallpapered as required.