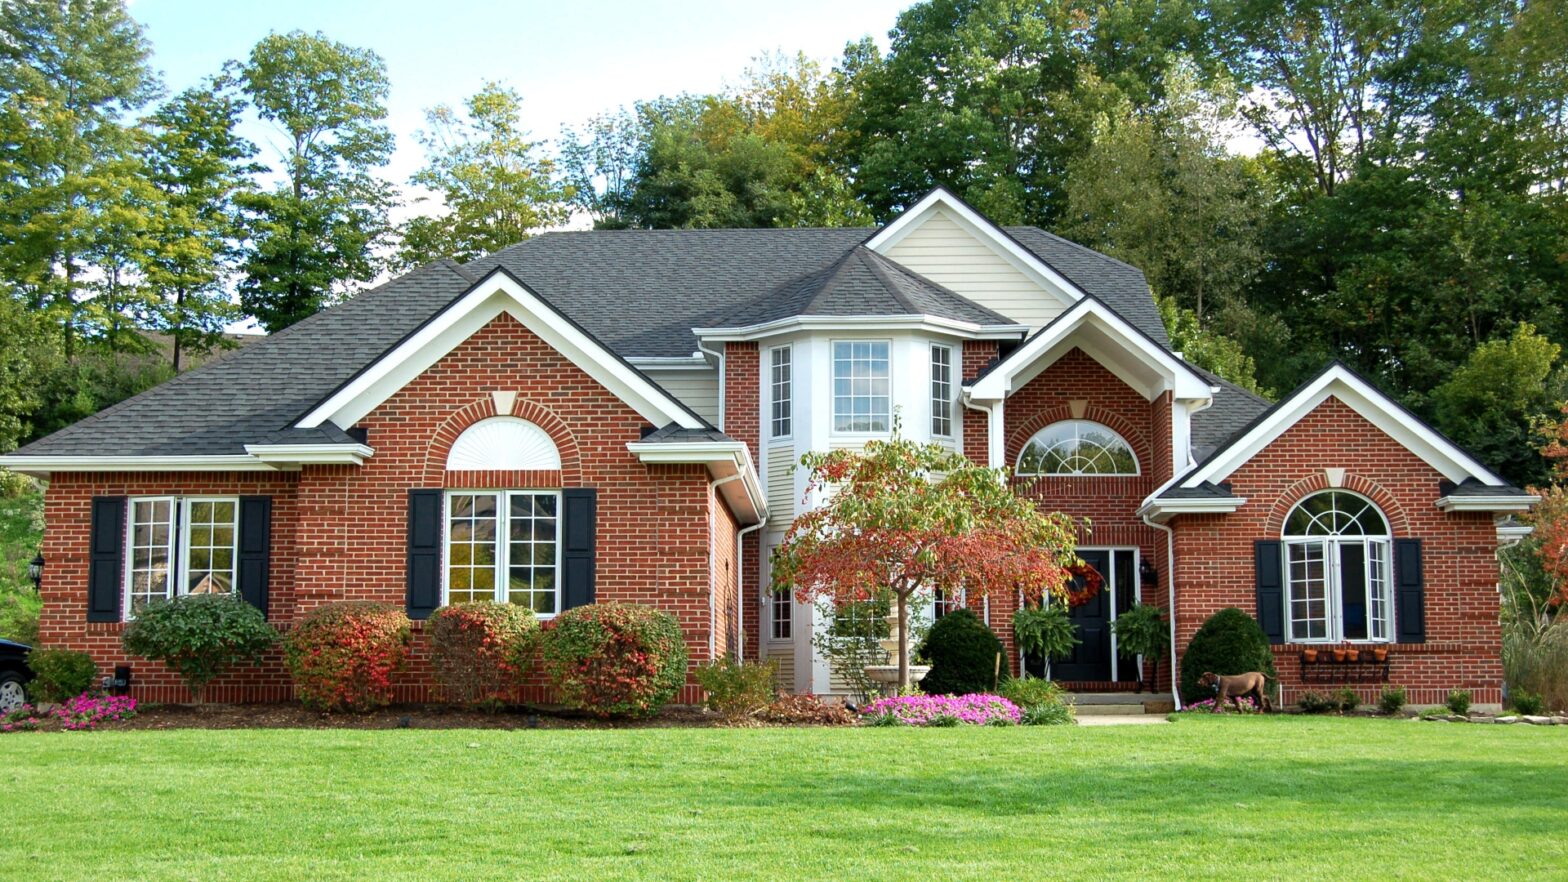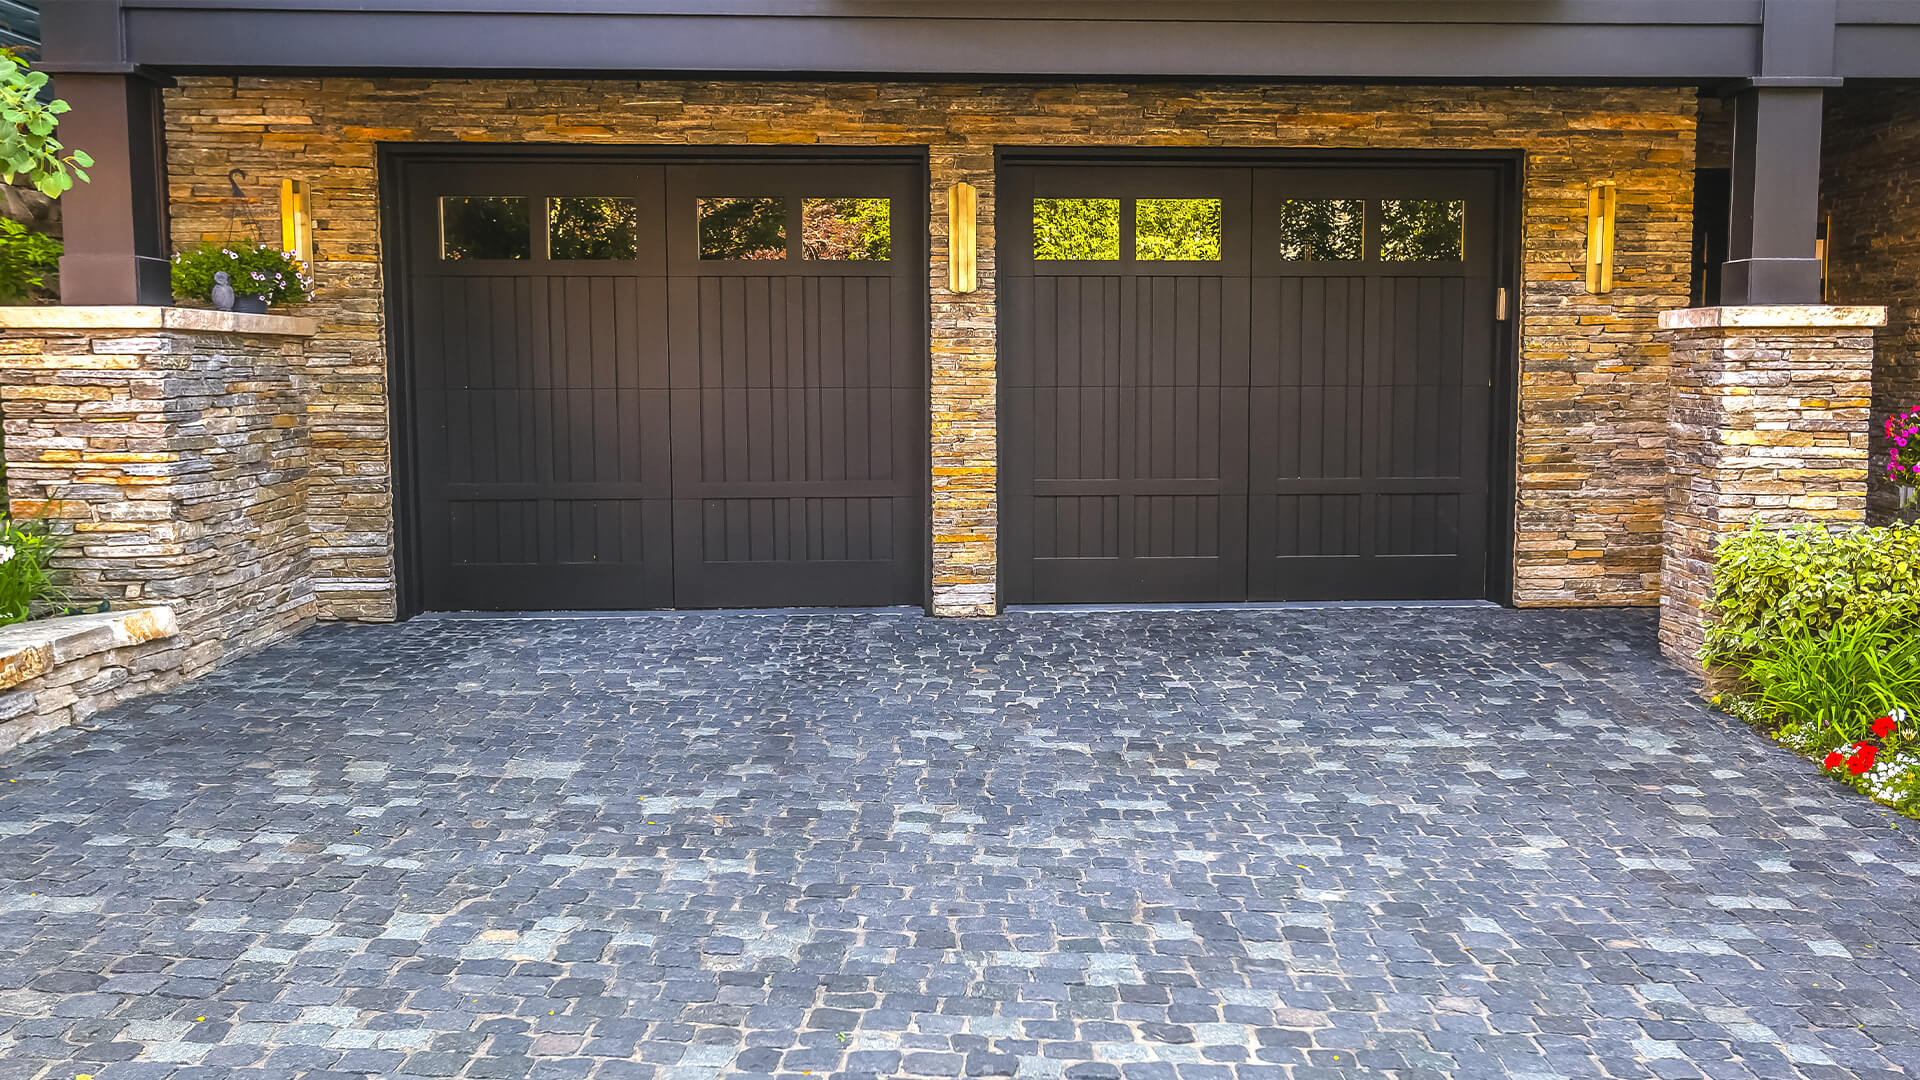


Garage doors are one of the pieces that don’t require regular maintenance. But the only problem is the frequent rotting of door jambs. Because the door jambs are exposed to ground-level moisture, they are highly susceptible to wood rot. If you think about installing a new garage door, it is ideal that the door framing is done firmly.
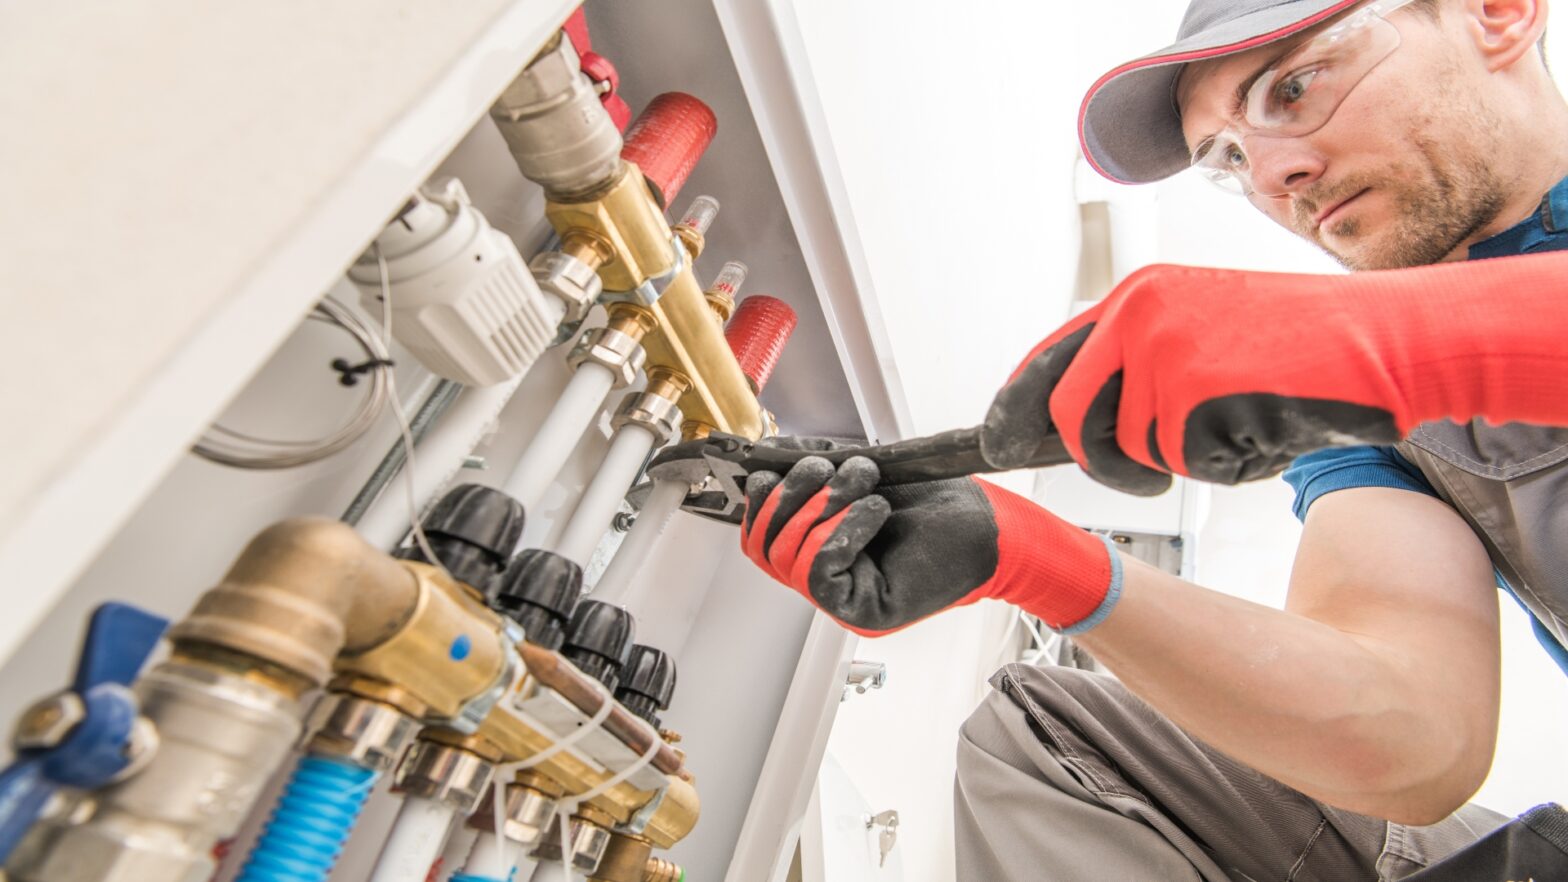
Be it replacing an old garage door; you might be required to do some framing. To correctly prepare the wall to mount garage doors and openers, you must know every required measurement for a garage door. This will ensure that you accurately price, purchase, and install the new garage door. Once your measurements are verified, then you can proceed with the garage door repair. Fortunately, anybody can replace rotting jambs. You only need to understand the requirements and how to perform the repair. Here is the step by step guide:
Prepare Your Garage Door First
When you look at most garage door entrances’ surfaces, you will see waterproof intrusion at the sides and tops of the doors called trim. It may consist of different materials, including wood, vinyl, or some other material. Eliminate material that must be removed to prevent it from tearing away in the subsequent process. You should slide the blade under the edges of the trim gently to remove the trim. Remember to remove the caulk seal between the trim and garage door framing. But you must be cautious because some trimis nailed to the jamb. Make sure you choose a very sharp bar blade to slide it under the trim. Pay attention as you pull the trim up and away from the jamb to minimize so that you don’t break the trim. Use a screwdriver where necessary.
Remove the Old Framing
Once the trim is out, the next step would be to remove the jamb itself. Frames are often cut in different angles, let’s say 45-degree at the top end and about against the header end in the same manner as a picture frame, while other jambs may be a simple fix with a flat-on-flat abutment. Therefore before disconnecting any framing, it is ideal to look at how they are fixed to the header piece. Understanding how your frame is installed can help to reduce damage to the header. From the bottom of the jamb, apply some force with the pry bar once you understand how the installation was done. At this moment, take absolute care as you remove and arrange the frames on the side of the doorway. Once you get close to the top to pull the jamb piece away from the header to reduce the put pressure on it. Once you are through, remove any protruding nail with your hammer for
Replace the New Jamb
Take accurate measurement of the new jamb between the top of the space by the header to the doorway’s bottom. Make sure to use correct measurements to allow room for expansion of the lumber. Also, make sure that the jamb rightly fits into the header with a 45-degree end before you cut across the jamb. But if you are dealing with a flat-facing jamb, cutting across the board with a conventional perpendicular cut shouldn’t be a problem.
Push the New Jamb into Position
Once you have made your cutting, it is time to install the new jamb to eliminate the gap between its top end and the header. Let someone hold the jamb in position as you harmer some nails through the jamb and into the stud. For better results, nails should be 6 inches apart along the jamb. You can also carefully add two-to-three nails at the top and bottom end of the jamb to avoid driving the nails into brick or siding that is behind the jamb.
Re-Install back the Trim
After making sure that the jamb is secured in position, proceed to fix back the trim. The trim must be returned in the same location it was before. Use the right-sized nails or screws to fix the trim to the garage door framing. After that, you may be required to run a small line of caulk between the edges of the trim and jamb to seal any gaps between the individual pieces, the wall of the garage, and the header. Once the caulk is dry, you can use the right painting to paint the jamb.